A Practical Guide to Finding, Evaluating, and Setting Up a Campsite That Meets Your Accessibility Needs
Camping Should Not Require Guesswork
Accessible camping means different things to different campers. One person may need a level tent pad and a nearby restroom, while another depends on electrical service, space for a wheelchair lift, or a shower that can accommodate a caregiver.
An “accessible” symbol is a useful starting point, but it does not guarantee that the entire campground will work for you. The campsite may be paved while the route to the restroom crosses loose gravel. A cabin may have a ramp but lack an accessible shower.
This guide will help you evaluate the whole trip: parking, ground surfaces, sleeping arrangements, restrooms, electricity, campground routes, and nearby recreation. Before reserving, contact the campground directly and ask about the specific site you are considering. Ten minutes on the phone can prevent a weekend spent wrestling with barriers that were never mentioned online.
What Makes a Campsite Accessible?
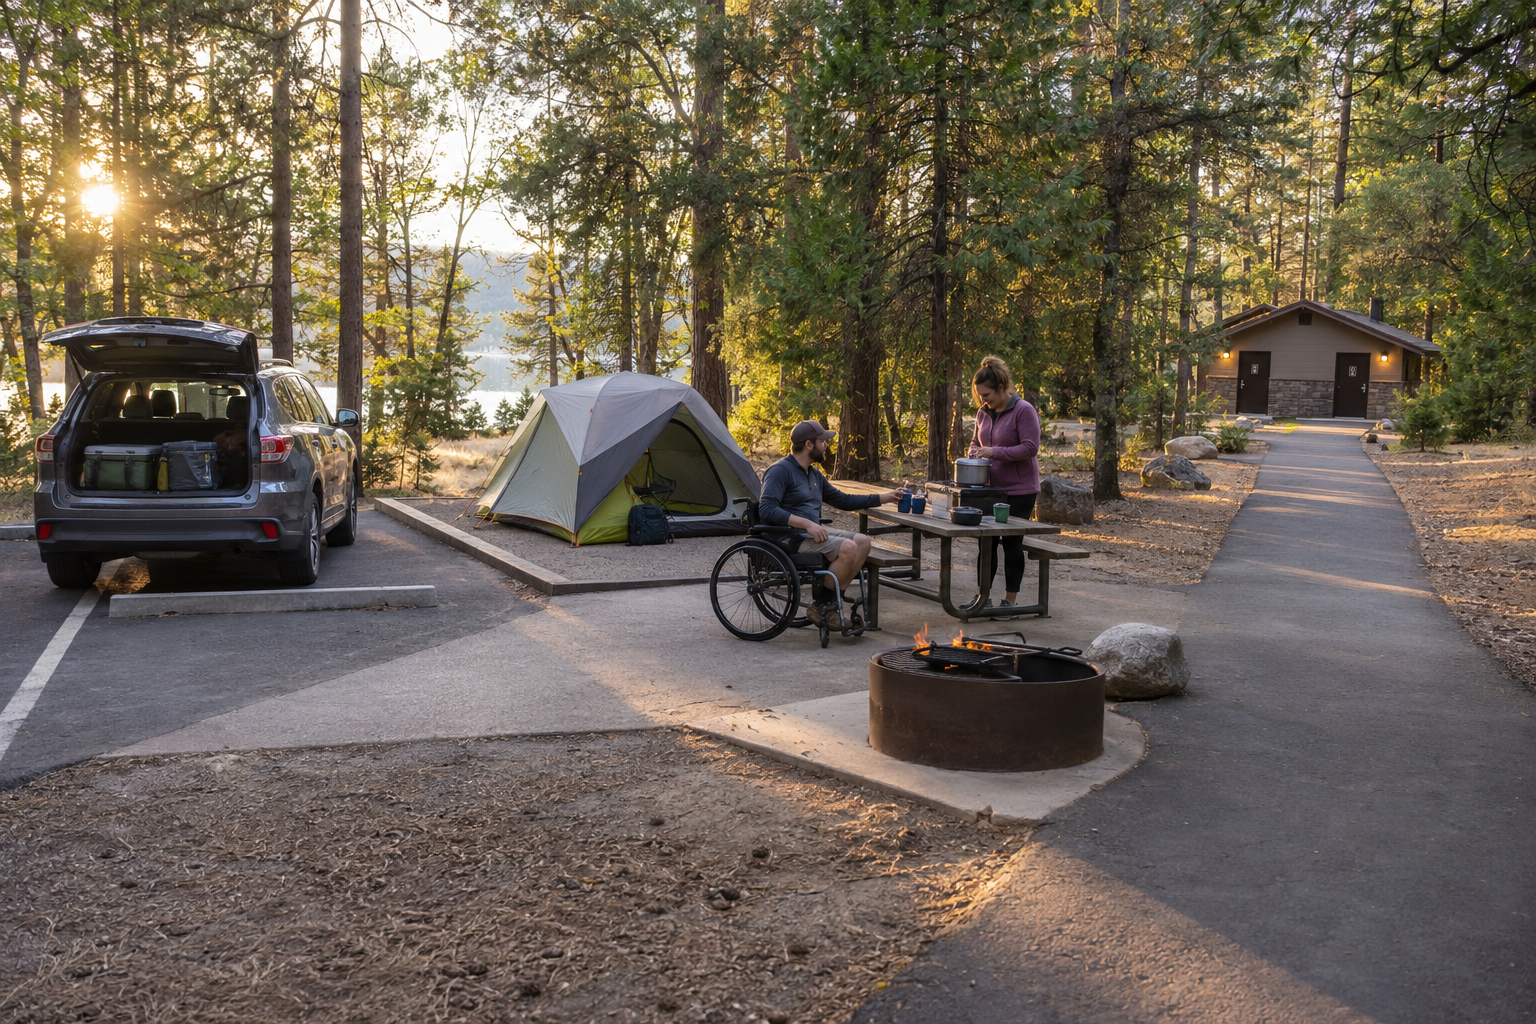
An accessible campsite should provide a firm, stable, and reasonably level surface that remains usable under normal weather conditions. Concrete and asphalt can work well, but properly compacted crushed stone or packed soil may also provide a dependable surface. Loose gravel, deep sand, exposed roots, and muddy grass create more trouble for wheelchairs, walkers, canes, and anyone with limited balance.
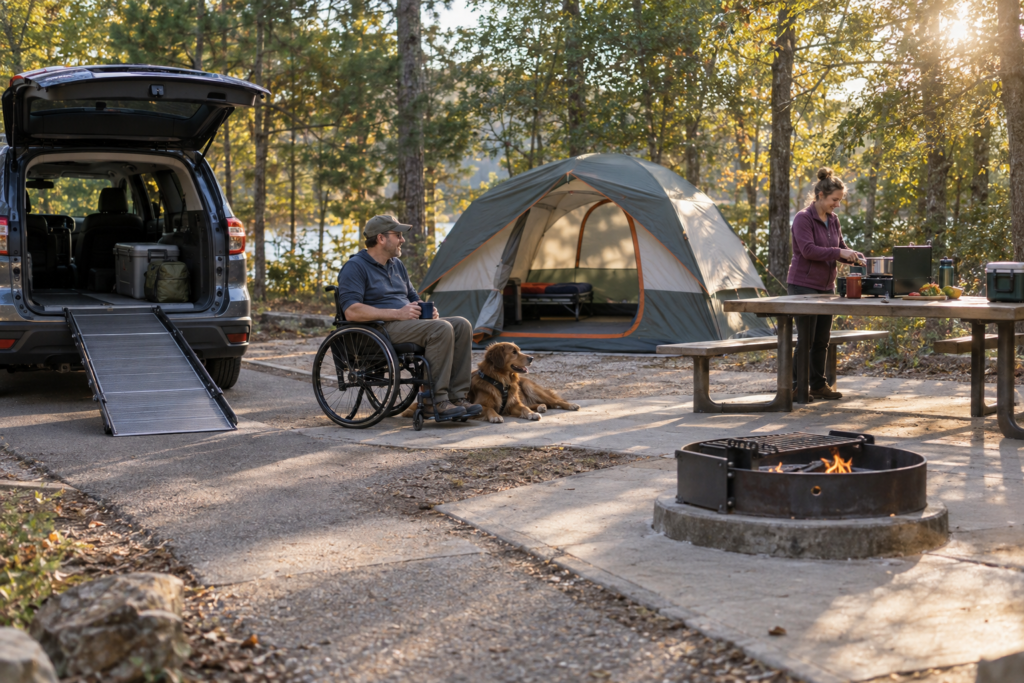
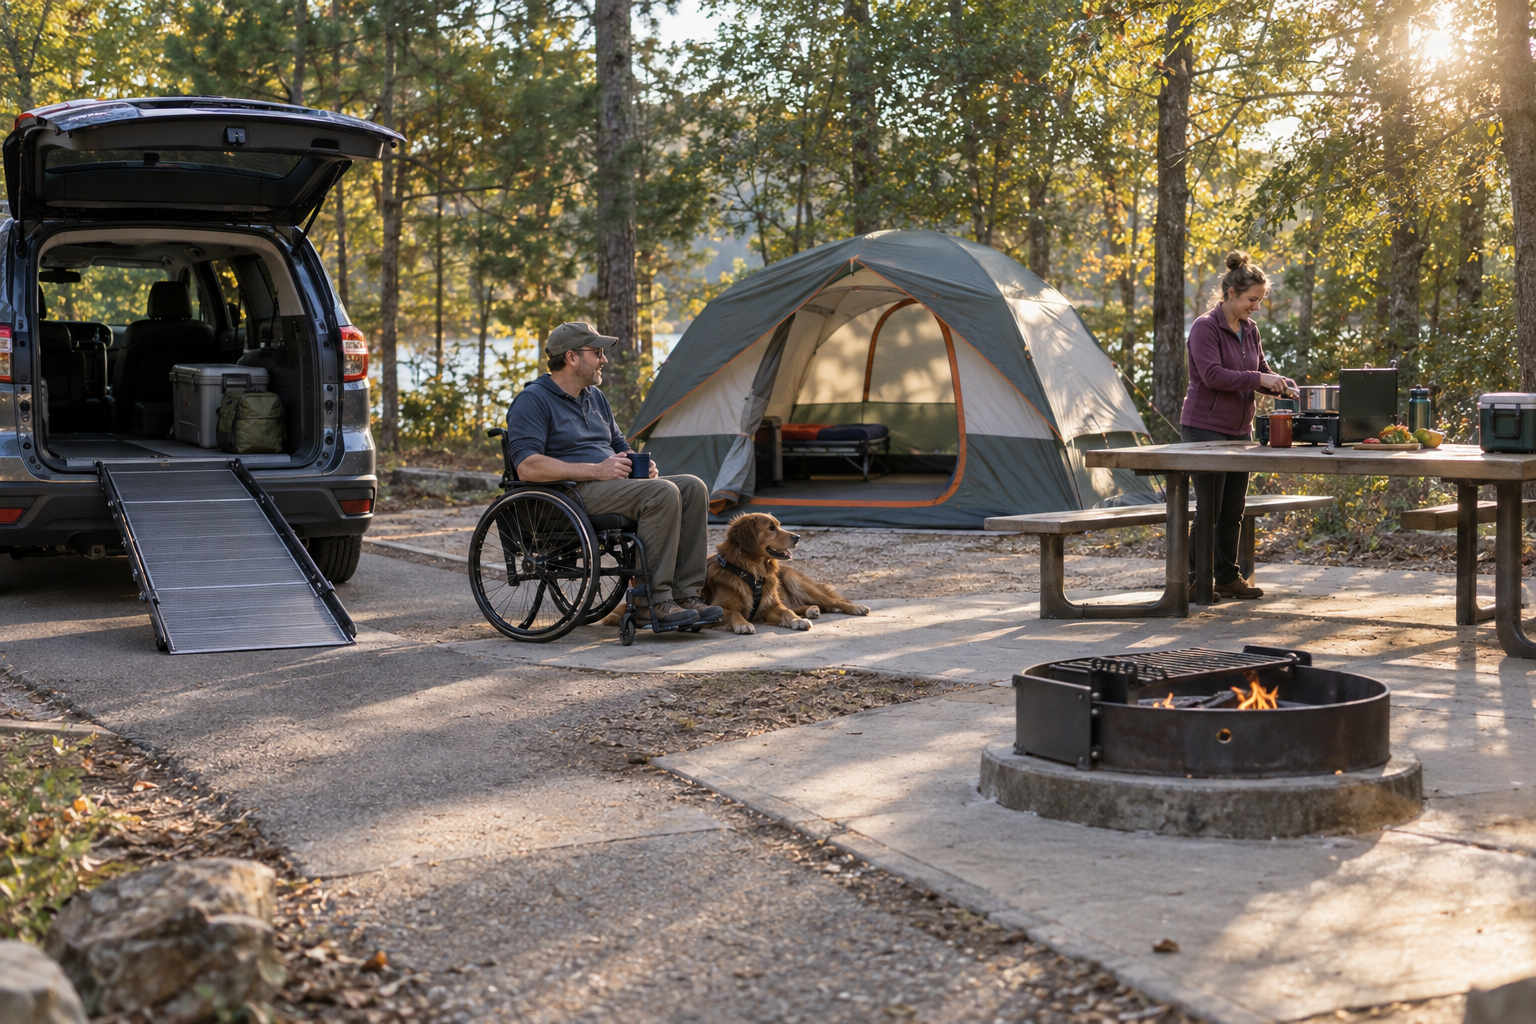
There should be enough room beside the vehicle or RV to deploy a ramp or lift without blocking the campground road. The route from the parking area to the tent pad, table, fire ring, and other campsite features should be step-free. Accessible picnic tables, raised fire rings, and usable tent pads also need clear ground space around them.
Do not evaluate the campsite by itself. Check the distance and route to toilets, showers, drinking water, trash containers, and shared recreation areas. Electrical service may also be essential for mobility equipment, refrigeration, or other powered devices.
Federal outdoor-accessibility standards address routes, camping surfaces, tent pads, tables, fire rings, and other constructed features. The U.S. Access Board generally requires covered outdoor routes to have firm, stable surfaces and defined clear widths. Older, rugged, or partially developed campgrounds may offer only limited accessibility, so verify each feature separately.
Start With Your Personal Accessibility Requirements
Before comparing campgrounds, make a short list of what you need rather than relying on somebody else’s definition of accessible. Separate genuine requirements from features that would simply make the trip more comfortable. That distinction helps you reject unsuitable sites quickly without overlooking a good campground because it lacks a minor convenience.
Features You Must Have
Your nonnegotiable list might include:
- A step-free campsite
- An accessible toilet
- A roll-in shower
- An electrical hookup
- A firm tent surface
- Clearance for a wheelchair lift
- Refrigeration for medication
- Dependable cellular service
Be specific. “Electricity available” could mean a standard RV hookup, a limited medical-equipment outlet, or an outlet inside a distant restroom. Those are not interchangeable.
Features That Would Make the Trip Easier
Helpful features might include:
- Paved campground roads
- A nearby camp store
- An accessible trail or fishing platform
- A family or companion restroom
- A covered picnic area
- A quieter site away from busy facilities
The right campground is the one that matches the camper. A paved RV resort may work beautifully for one person and feel crowded or noisy to another. A rustic state park may provide plenty of space but lack the power, showers, or firm routes someone else requires.
How to Find an Accessible Campground
Start with reservation systems and official campground pages. Recreation.gov covers many federal campgrounds, while National Park Service accessibility pages often provide park-specific information that does not appear in a standard campsite listing. State park reservation systems, U.S. Forest Service pages, county park websites, and municipal recreation departments are also worth checking. Private campgrounds and RV resorts may offer more developed facilities, but their use of terms such as “accessible” can vary.
Search for the individual campground and campsite number—not merely the park. Study the campground map to see how the site relates to restrooms, showers, water, parking, trails, and common areas. Look for current photographs showing the parking pad, tent area, table, fire ring, and routes between them.
Surface descriptions deserve close attention. “Gravel” might mean tightly compacted crushed stone or several inches of loose rock. Likewise, “level” sometimes means level enough for an RV, not necessarily easy to cross with a manual wheelchair.
Read recent visitor photographs and reviews for additional context, but confirm important details with the campground. A reviewer may describe a facility inaccurately, and conditions can change after storms, construction, or maintenance.
The broader Campgrounds and Camping Destinations guide can help you compare federal, state, local, and private camping options before narrowing the search to a specific accessible site.
Questions to Ask Before Reserving
Call the campground when an unanswered question could determine whether the trip works. Ask about the specific site number and keep the following checklist handy:
- Is the campsite paved, compacted gravel, packed soil, or grass?
- Is the parking pad and living area reasonably level?
- Are there curbs, steps, roots, loose gravel, or steep grades?
- How far is the restroom from the campsite?
- Is the complete route to the restroom firm, stable, and step-free?
- Does the restroom have an accessible stall with usable grab bars?
- Is the shower roll-in, or does it have a raised threshold?
- Is there enough room to deploy a wheelchair lift or vehicle ramp?
- Can the picnic table be approached from the end or side?
- Is the fire ring raised, and is there clear space around it?
- Does the site provide electricity, and what connection is available?
- Can staff send or direct you to recent photographs of the site?
- Are accessible trails and recreation areas connected to the campground?
Describe what you need in practical terms instead of asking only whether the site is “ADA accessible.” Staff may be able to answer questions about distances, surfaces, and obstacles even when they do not know every technical standard.
One point is worth repeating: a restroom can be accessible while the route leading to it is not. A properly designed stall does little good when loose gravel, a steep hill, or a curb blocks the way. Ask about the complete route from the campsite to every essential facility.
Record the employee’s name, the date, and the information provided. Reconfirm critical details shortly before departure, particularly if weather or construction may have changed conditions.
Choosing Between Tent, RV, Cabin, and Glamping Accommodations
Accessible Tent Camping
Tent camping offers flexibility, but the ground matters. Look for a firm pad with room for the tent, transfers, mobility equipment, and a clear entrance route. A tall tent with a large door is generally easier to enter than a low backpacking model. Consider cot height, mattress support, weather protection, and the distance between the tent and vehicle.
For more help evaluating shelters and sleep systems, see Tent Camping.
RV Camping
An RV can provide a bed, bathroom, electricity, and protection from poor weather, but only when its interior layout works for the camper. Check doorway width, steps, lift or ramp clearance, turning space, bed access, and bathroom dimensions.
A level parking pad helps stabilize the RV and makes ramp use safer. Compare electric-only sites with full-hookup sites, and determine whether the dump station has suitable pull-up space. The RV Camping guide explains these campground and equipment differences in greater detail.
Cabins and Glamping Units
Cabins and glamping units reduce setup work, but the word “accessible” needs investigation. Confirm the entrance ramp, threshold height, doorway width, interior turning space, bed height, bathroom layout, and route to shared facilities.
Never assume an accessible cabin includes an accessible bathroom or roll-in shower. Some units provide a ramped entrance while requiring guests to use a separate bathhouse. Review Camping Cabins before deciding whether a fixed accommodation will meet your needs.
Accessible Camping Gear That Solves Real Problems
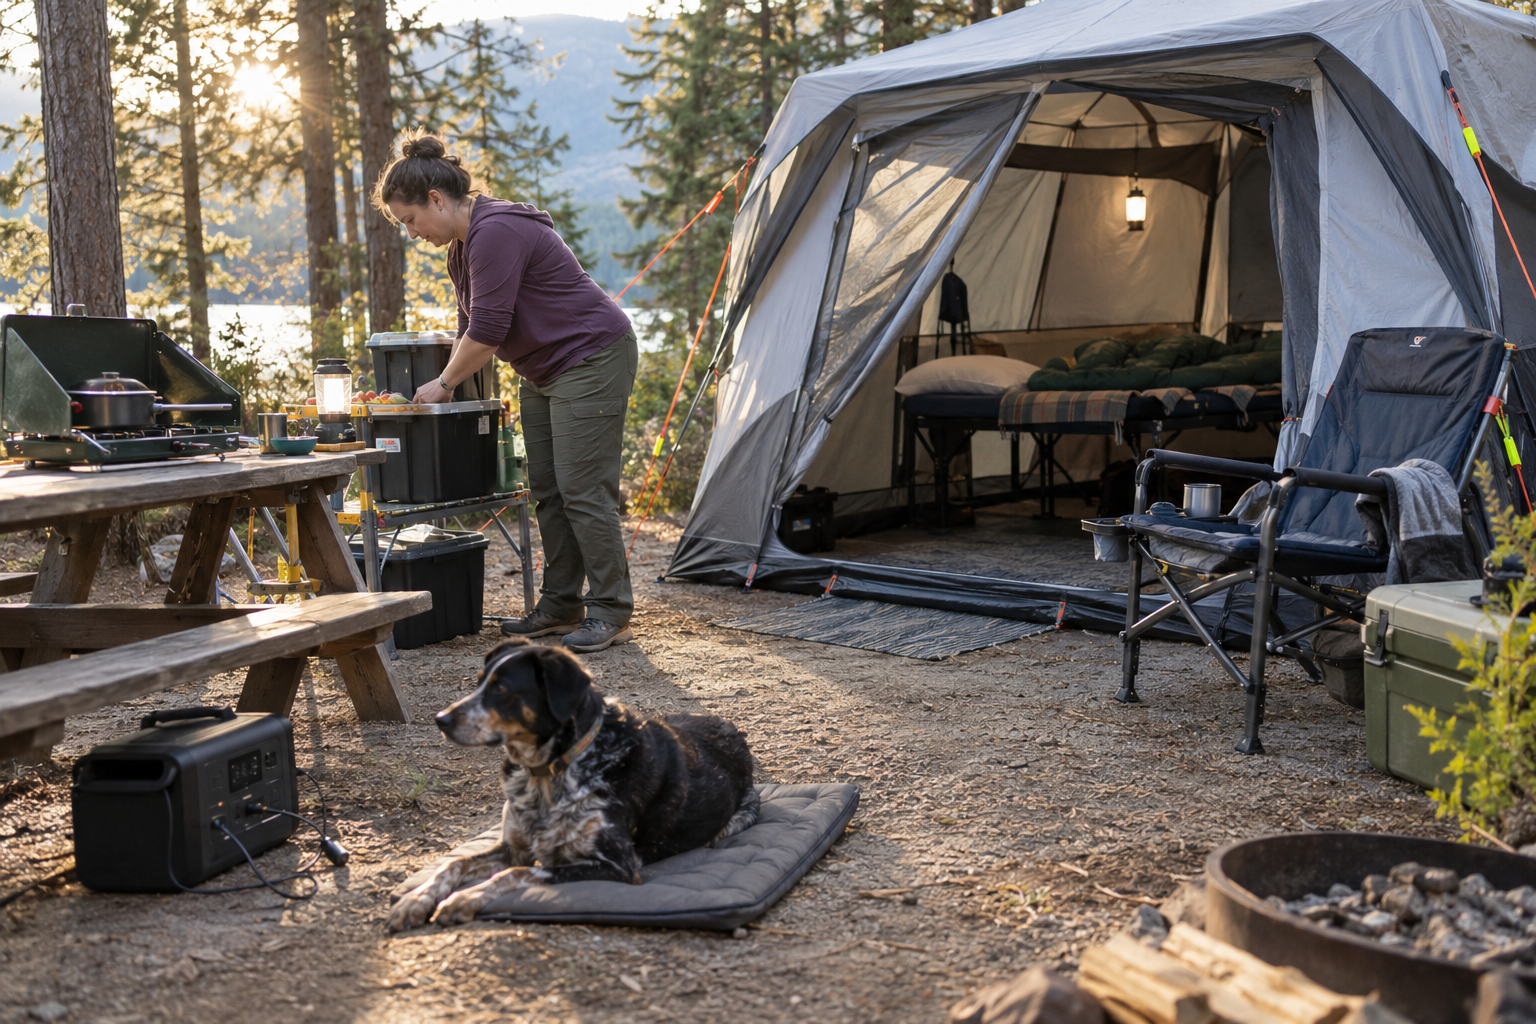
Useful accessible camping gear removes a specific barrier. Begin with the task that causes trouble, then choose the simplest equipment that makes it safer or easier.
Sleeping and Tent Setup
A tall tent with a large door provides more room for entry, transfers, and mobility equipment. Cots and raised sleep systems can reduce the distance between a wheelchair or standing position and the bed, but height and stability matter more than marketing labels. Supportive sleeping pads improve pressure distribution and insulation.
Zipper extensions make small tent pulls easier to grip. Battery-powered lights placed at the entrance and bedside reduce fumbling after dark. See Camping Sleeping Gear for help comparing cots, pads, and other sleep systems.
Campsite Mobility and Comfort
Choose a stable chair with armrests and a seat height that supports comfortable transfers. Roll-up mobility mats may help over sand, grass, or loose ground, although they add bulk and must be secured properly.
Lightweight tables, reachers, and long-handled tools can reduce lifting, bending, and unnecessary movement. Bright or reflective guyline markers make tent cords easier to see. Keep everyday supplies in containers that can be opened and reached without moving other gear.
Cooking and Fire Safety
A tabletop stove on a stable surface is often easier to control than cooking over a low fire ring. Lightweight cookware reduces lifting strain, while heat-resistant gloves and extended fire tools provide additional reach.
Arrange the cooking area so hot pans do not cross the main travel path. The Camp Cooking Gear guide can help with stove and cookware choices.
Power and Medical Equipment
Portable power stations and backup batteries may support essential electronics where hookups are unavailable. Confirm output, runtime, charging method, weather protection, and campground rules before relying on one. Use outdoor-rated extension cords and cable covers that reduce trip hazards. Medication storage should maintain the required temperature without depending on an untested cooler.
No product is universally accessible. Good gear fits the camper, the campsite, and the task—not an advertising category. Start with Camping Gear, then buy only what solves a real problem.
Setting Up an Accessible Campsite
Set up the campsite in an order that protects the travel paths before gear begins spreading in every direction.
- Inspect the parking area, campsite surface, restroom route, and drainage before unloading. Rain can turn a shallow low spot into a muddy obstacle.
- Park with enough clearance for the wheelchair ramp or lift. Check both the deployment space and the route away from the vehicle.
- Establish a direct path between the vehicle, sleeping area, picnic table, cooking station, and restroom route.
- Position tents, cords, guylines, coolers, and storage bins outside that path.
- Place frequently used gear within comfortable reach instead of stacking it in deep containers.
- Mark stakes, guylines, and uneven edges with bright or reflective material.
- Install campsite lighting before sunset, including lights near the tent entrance and primary route.
- Protect mobility devices, batteries, chargers, and controls from rain, dirt, heat, and cold.
Whenever possible, arrange the site so the camper can handle routine tasks without waiting for assistance. That may mean placing the tent closer to the vehicle, turning the picnic table, or moving storage from the ground to table height.
Keep routes wide enough for turns and transfers. A technically clear path can still be frustrating if every trip requires backing around a cooler. Campsites have a habit of shrinking as gear comes out, so protect the important space from the beginning.
Restrooms, Showers, and Personal Care
Campground listings rarely provide enough detail about restrooms and showers. An accessible-stall symbol does not tell you the stall dimensions, grab-bar arrangement, toilet height, doorway clearance, or whether a mobility device can turn inside.
For showers, confirm whether the entrance is truly roll-in or has a raised threshold. Ask about the size and stability of the shower bench, placement of water controls, availability of a handheld showerhead, and room for a caregiver when needed.
The route deserves equal attention. Determine whether it is paved or compacted, how steep it is, and whether it has curbs, roots, drainage channels, or poor nighttime lighting. Family or companion restrooms may provide more privacy and maneuvering room than a standard multiuser bathhouse.
Vault toilets usually offer fewer amenities than flush-restroom buildings and may lack running water, showers, heat, or adequate interior space. Do not assume one type is automatically usable.
Prepare a backup plan if the facilities fall short. That might mean using your RV bathroom, bringing suitable personal-care equipment, or choosing a site closer to another facility. “Accessible restroom” may describe the building while saying nothing useful about the route, shower, or actual experience of using it.
Accessible Outdoor Activities Near the Campground
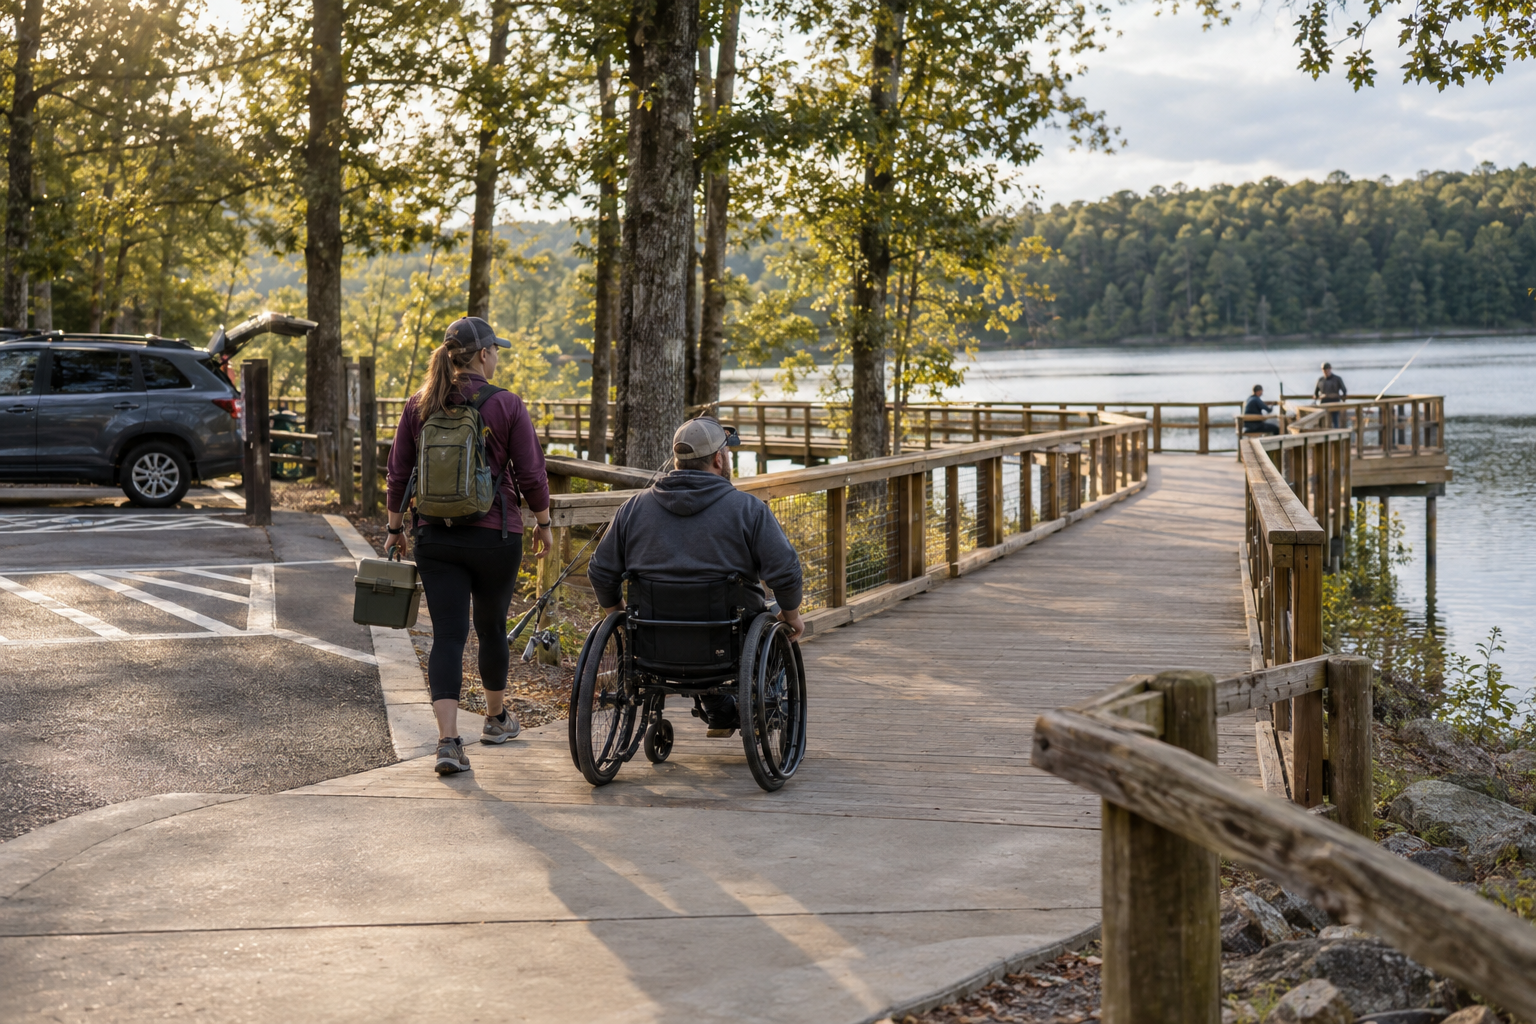
A suitable campsite is only part of the trip. Evaluate the recreation areas you intend to use with the same care.
For trails and boardwalks, check the surface, distance, running slope, cross slope, obstacles, passing spaces, and resting areas. “Accessible trail” does not always mean flat, paved, or manageable for every mobility device. Shade also matters because exposed routes can increase heat-related strain.
Fishing piers and wildlife-viewing platforms should have accessible parking, step-free approaches, usable railing openings, and enough maneuvering space. Beach-access mats can provide a firmer route across sand, but they may stop short of the water or become partly buried.
Also investigate amphitheaters, picnic areas, visitor centers, and shuttle stops. An accessible destination loses much of its value when the connecting route or transportation is unusable.
Some parks and local organizations offer adaptive paddling, cycling, fishing, or guided recreation. Ask what equipment, assistance, reservations, and transfer abilities are required before making plans.
Use Camping Activities and Recreational Activities to identify suitable options. Add a link to Accessible Hiking once that page exists. Choose activities by verified surface, slope, distance, shade, resting areas, and parking—not by an accessibility symbol alone.
Real Examples of Accessible Campgrounds
These campgrounds show why travelers should compare individual facilities instead of searching for one universally “best” accessible campground.
Cades Cove, Elkmont, and Smokemont Campgrounds
Great Smoky Mountains National Park identifies reservable wheelchair-accessible sites at Cades Cove, Elkmont, and Smokemont. The park describes accessible sites as generally level and near accessible restrooms, with modifications that may include paving, specialized tables, and accessible fire grills. Cades Cove and Smokemont offer accessible sites year-round, while Elkmont operates seasonally.
Elkmont Campground, Tennessee
Elkmont currently identifies nine wheelchair-accessible campsites. Listed features include wide concrete driveways, raised fire rings, and wheelchair-accessible picnic tables. Those details make Elkmont a useful example of why the campsite number matters: specific sites may provide suitable features even though other sites and campground areas differ.
Colter Bay Campground, Wyoming
Colter Bay lists 13 ADA-compliant campsites with paved sites, accessible picnic tables, and electric-only hookups. Its listing also notes that campground roads are mostly level but include some inclines and declines, and that restroom facilities are only partially accessible. Accessible showers are available at the launderette.
Facilities, operating seasons, reservations, and accessibility designations can change. Verify the current campground listing and contact staff before booking.
Planning for Emergencies and Unexpected Barriers
Share the campground name, site number, travel dates, and expected return time with someone at home. Download campground maps, driving directions, and emergency information before leaving cellular coverage. A screenshot is more dependable than a webpage that refuses to load when you need it.
Carry backup power for essential equipment and confirm how long it can realistically operate between charges. Protect batteries and mobility-device controls from rain, dirt, direct sun, and temperature extremes. Store medication according to its labeled requirements, using equipment capable of maintaining the necessary conditions.
Identify the nearest urgent-care facility or hospital before the trip. Record its address and route rather than depending entirely on a phone search during an emergency.
Weather can change accessibility quickly. Firm soil may become mud, drainage channels can fill, and strong wind can scatter equipment across a travel path. Pack with those changes in mind.
Have an alternative for an inaccessible restroom, failed electrical connection, closed route, or unsuitable campsite. If conditions do not match the reservation description, speak with campground staff promptly. They may be able to move you to another site or provide access to a different facility. A backup plan is not pessimism; it is ordinary campground preparation with fewer unpleasant surprises.
Accessible Camping Checklist
Before leaving home, confirm the following:
- Campsite surface and slope have been verified.
- Parking space or vehicle-lift clearance is adequate.
- The restroom and shower meet the camper’s requirements.
- Routes between essential facilities are firm and step-free.
- Electrical connections and power limitations are understood.
- Backup power is charged and tested.
- Mobility equipment has weather protection.
- The sleeping and transfer arrangement has been tested.
- Medications are packed with appropriate temperature protection.
- Accessible activities have been researched individually.
- Emergency contacts and medical-facility information are saved.
- Campground maps and directions are available offline.
- Campground staff have been contacted shortly before departure.
- A backup plan exists for unsuitable or closed facilities.
Keep this information with the reservation details so it is available while traveling. A checklist cannot remove every obstacle, but it catches the preventable ones—the kind that usually appear just after the office closes and the rain starts.
Final Thoughts: Build the Trip Around What Works
Accessible camping starts with accurate information, realistic expectations, and a campsite chosen around the camper’s actual needs. A symbol beside a reservation listing is useful, but it cannot replace direct questions about surfaces, distances, restrooms, electricity, and routes.
If you are testing new equipment or routines, begin with a developed campground close to home. A shorter first trip makes it easier to identify what works, change what does not, and return without turning a small problem into a major ordeal.
The best campsite is not necessarily the wildest, most remote, or most impressive one. It is the campsite that allows everyone to participate with reasonable comfort, independence, and safety. That is not settling for less. It is choosing the trip wisely.