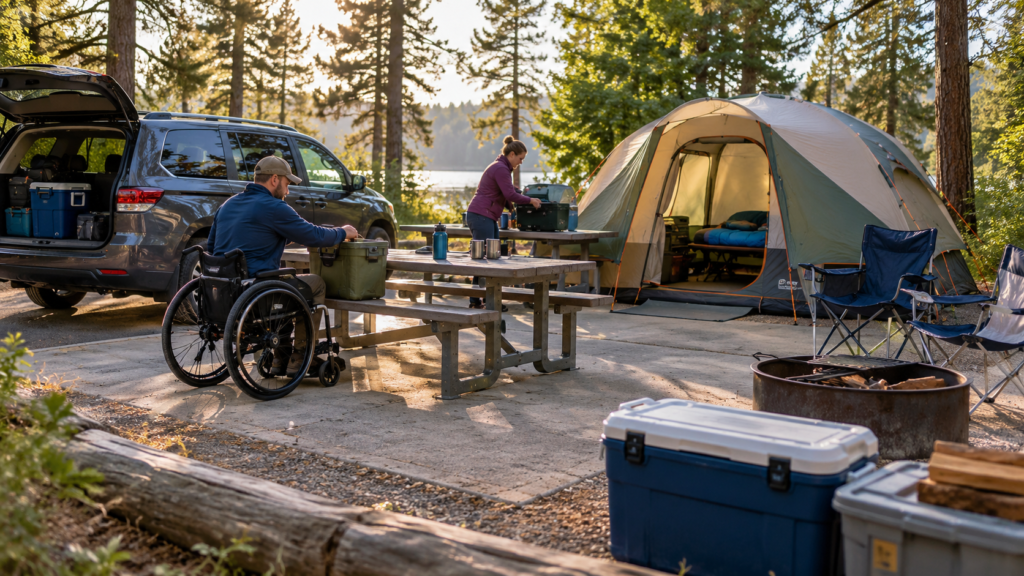
Accessible Camping for Beginners
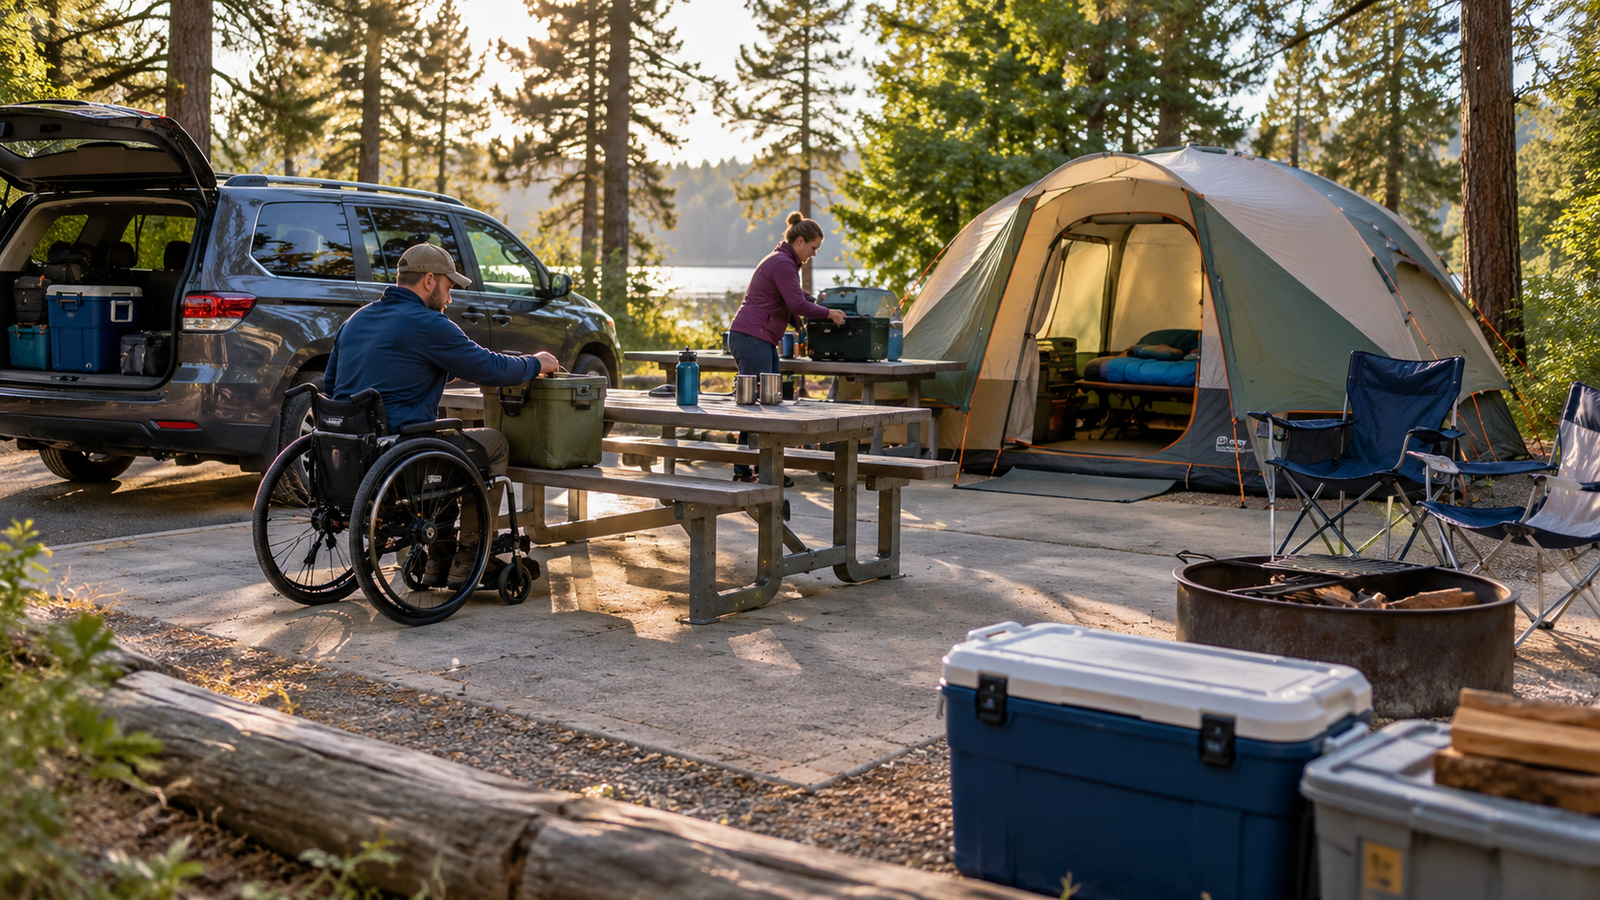
Accessible Camping Starts With the Right Plan
Accessible camping starts well before you buy gear or reserve a campsite. The first job is figuring out what has to work for you once you arrive.
An accessible label alone doesn’t answer that question. One site may offer level parking and an accessible picnic table but no electrical hookup. Another may have excellent campsite features while the route to the restroom creates the real problem. National Park Service guidance encourages campers to investigate terrain, surfaces, electrical hookups, restroom accessibility, and other campground features rather than relying on a general designation.
That’s the principle behind this guide: Don’t ask only, “Is this campground accessible?” Ask, “Can I actually use this campsite?”
For the bigger planning picture, start with our complete accessible camping guide.
Start With Your Own Accessibility Needs
Before comparing campgrounds or buying equipment, figure out which parts of camping could create a barrier for you. Accessibility needs vary considerably from one camper to another, so a campsite that works well for one person may be completely impractical for someone else.
Identify the Barriers That Matter to You
Start with movement around the campground. Consider how far you can comfortably travel, the surfaces you can manage, and whether slopes, steps, or elevation changes create problems. Wheelchair and scooter users should also consider maneuvering space around the campsite and whether there’s enough clearance beside the vehicle to deploy a ramp or lift.
Think through everyday campsite tasks as well. Transfers into a tent, cot, chair, or vehicle may require specific heights or additional space. Restroom accessibility can be equally important, especially when the facility is some distance from the campsite.
Power deserves consideration before booking if you rely on electrical equipment or need dependable charging. Also account for tasks that may require assistance, such as pitching a tent or moving heavier gear.
Accessibility isn’t limited to mobility. Hearing, vision, and sensory needs can affect campsite selection, navigation, communication, and comfort too.
The National Park Service recommends evaluating factors including terrain, surfaces, electrical hookups, accessible restrooms, picnic tables, and campground facilities when planning a visit.
You’re not trying to find a universally perfect accessible campsite. There isn’t one. You’re identifying what has to work for your particular trip.
Understand What “Accessible Campsite” Really Means
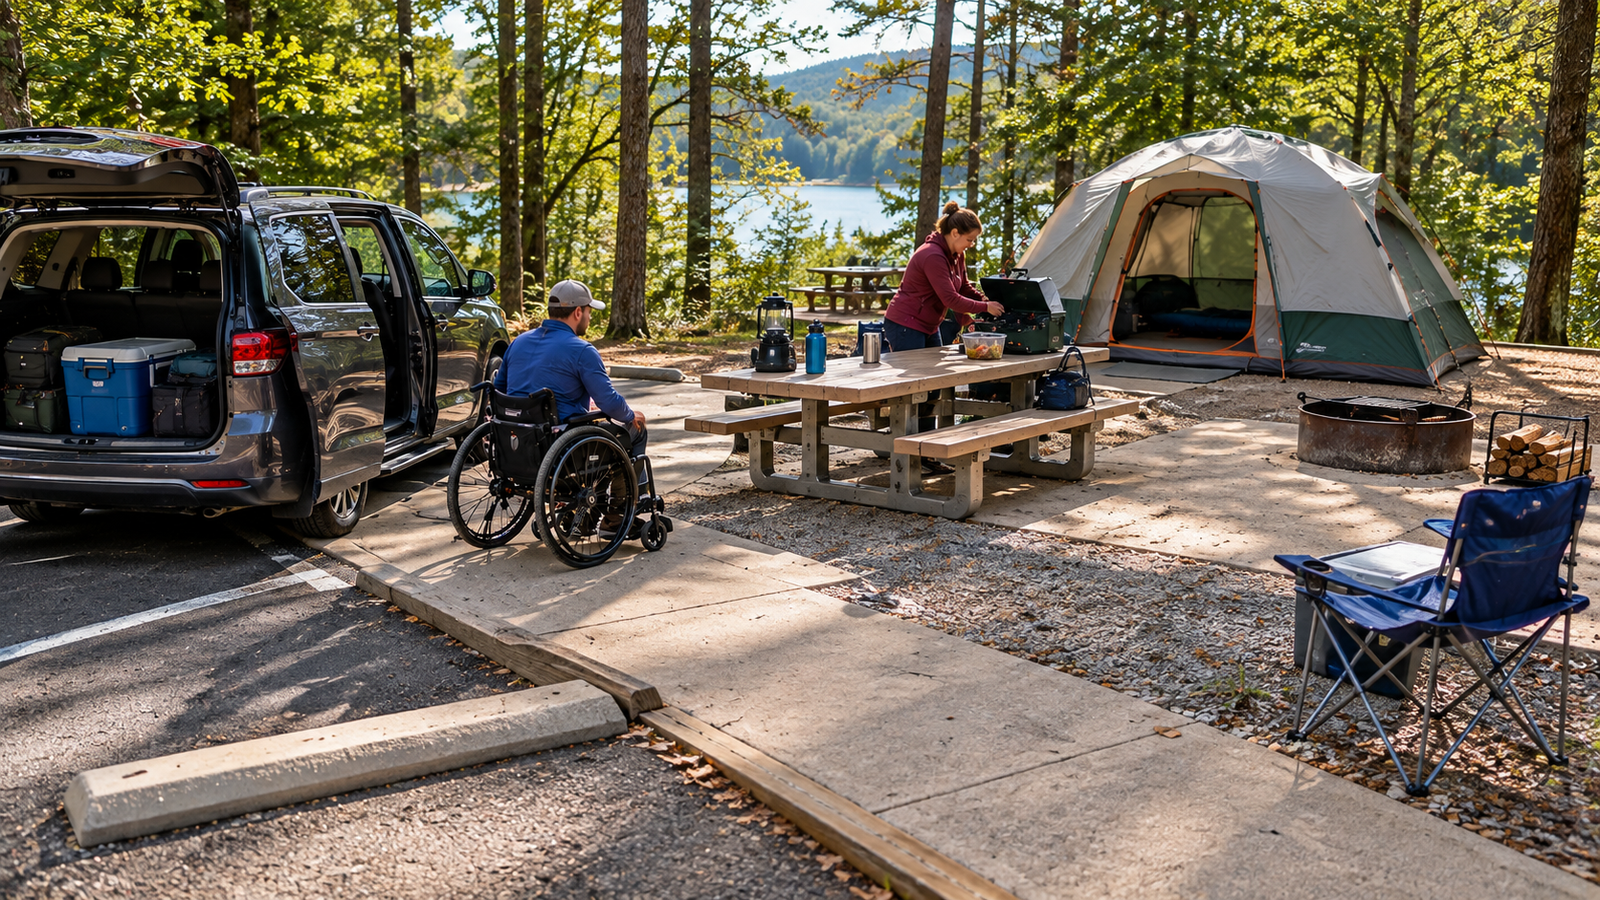
An accessible campsite is more than a parking space with a wheelchair symbol. What matters is whether the individual features work together well enough for you to move around camp and use the facilities you need.
Parking and Vehicle Access
Start with where you’ll park. The surface should be level or manageable for your needs, with enough room to unload mobility equipment. If your vehicle uses a wheelchair ramp or lift, verify that there’s sufficient clearance to deploy it. A wide campsite doesn’t necessarily mean a wide parking area.
Campsite Surface
Pavement isn’t required for every camper. Firm, stable gravel or another compacted surface may work perfectly well. Loose gravel, deep ruts, soft ground, roots, or significant slopes can be a different story. Evaluate the surface based on how you’ll actually move across it.
Accessible Route
Think beyond individual features and consider the entire route:
Vehicle → campsite → picnic table → restroom
A good campsite can become impractical if one of those connections includes a steep slope, curb, rough surface, or other barrier.
Tables, Fire Rings and Other Features
Check for usable picnic-table space, reachable fire rings or grills, accessible food storage, and enough room to maneuver around them.
Big Meadows Campground in Shenandoah National Park provides a useful real-world example. Accessible sites A096 and A097 list paved driveways and restroom walkways, extended picnic tables, raised fire pits, and food-storage boxes.
That’s the level of detail worth looking for. “Accessible” is the category. The individual features tell you whether the campsite actually works.
Verify the Campsite Before You Reserve It
Once you’ve found a promising campground, investigate the individual campsite before reserving it. Accessibility can vary from one site to the next, so this is one place where a few minutes of research can prevent a frustrating trip.
Start with the basics. What is the campsite surface? How steep is it? How wide is the parking area? Is there enough room to deploy a wheelchair ramp or lift?
Then look beyond the campsite itself. How far is the restroom? Is the route paved, packed gravel, loose gravel, grass, or dirt? Are there curbs, steps, roots, road crossings, or significant slopes along the way? Most importantly, does the restroom itself have the accessible features you need?
If you depend on electrical equipment or charging, confirm that electricity is actually available. Don’t assume an accessible campsite includes electrical service. Check whether the picnic table, fire ring, grill, and other features are usable from your mobility device as well.
Study individual campsite photos when they’re available. If an important detail isn’t clear, contact the campground before booking.
Lodgepole Campground Site 63 in Sequoia and Kings Canyon National Parks shows why this matters. The site is designated wheelchair accessible and includes an accessible picnic table and fire ring. However, its official description notes that reaching the restroom involves crossing the campground road and following a slightly downhill paved route, with assistance potentially needed on the return.
That’s valuable information before you arrive.
The accessibility symbol starts your research. It doesn’t finish it.
Keep Your First Camping Trip Simple
Your first accessible camping trip isn’t the time to see how many complications you can handle at once. A developed campground with a drive-in campsite is usually the practical place to start.
Choose somewhere within a reasonable distance of home and keep the first stay short. One or two nights gives you enough time to learn how your campsite and equipment work without committing to a week away. Favor a predictable weather window and a site reasonably close to an accessible restroom. Reliable cell service or another dependable means of emergency communication is worth considering too.
Frontcountry camping—camping in a developed area you can reach by vehicle—makes a good starting point because you’re more likely to have established campsites, restrooms, defined paths, and other facilities nearby. The National Park Service still recommends checking individual parks for their specific accessible accommodations because facilities and terrain vary from place to place.
When you’re ready to compare places to camp, Campgrounds & Camping Destinations can help narrow the choices.
There will be plenty of time for longer trips and more remote campsites later. For the first outing, keep the objective straightforward: choose a manageable campsite, learn what works, and identify what you’ll change next time.
Get the Basic Gear Right
Accessible camping doesn’t require replacing every piece of ordinary camping equipment with specialized gear. Start with what each item needs to do for the camper, then choose equipment that makes those tasks easier rather than adding another obstacle.
Shelter
Prioritize easy entry, adequate doorway width, a low threshold, and enough interior space to maneuver comfortably. Setup matters too. A spacious tent isn’t much help if pitching it requires movements or strength the camper can’t reasonably manage.
Sleeping System
Pay particular attention to transfer height, firmness, and stability. Sleeping directly on the ground can make getting into and out of bed difficult. For some campers, a sturdy cot or raised sleeping system provides a more practical height. The right choice depends on the individual’s mobility and transfer needs.
Seating
Don’t judge a camp chair by weight alone. A stable frame, supportive armrests, appropriate seat height, and an easier transition between sitting and standing may matter considerably more than shaving a few pounds from the packed weight.
Lighting
Put lighting where people actually move. The routes between the shelter, vehicle, and table deserve particular attention so small obstacles remain visible after sunset.
Power
If essential equipment depends on electricity, know how much power it requires, where that power will come from, how long your batteries will last, and what backup is available if the primary source fails.
Once you know those requirements, Camping Gear can help with the broader equipment choices.
Set Up the Campsite for Accessibility First
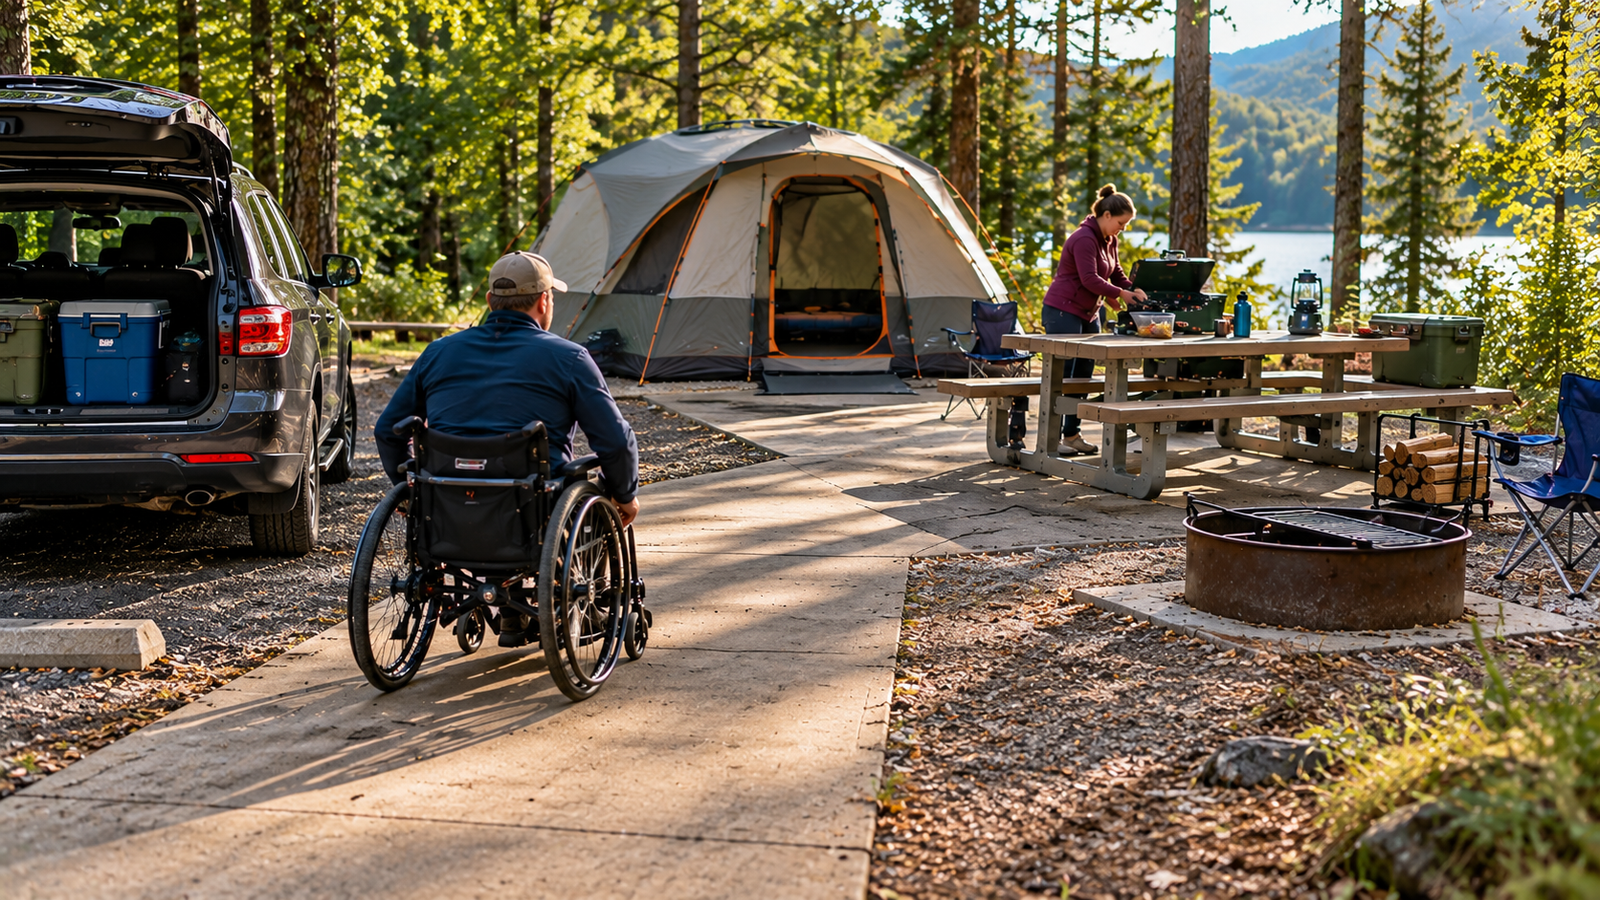
A well-chosen campsite can still become difficult to use if gear is scattered everywhere. Before unloading the vehicle, decide how people need to move through the site and build the setup around those routes.
Establish Your Routes Before Unloading
Start with the main travel path:
Vehicle → shelter → table → campsite exit
Keep that route as direct and clear as the site allows. Don’t stretch extension cords or tent guylines across it. Coolers, storage totes, chairs, firewood, and other equipment should stay outside the space needed for walking, wheelchairs, scooters, or other mobility equipment.
Think about reach as well as movement. Frequently used items should be positioned where they’re easy to access without unnecessary bending, stretching, transfers, or repeated trips across camp.
Tent orientation deserves some thought too. Facing the door toward the best mountain view sounds good until that position creates an awkward approach. When possible, orient the entrance toward the easiest route from the vehicle and main campsite area.
Once everything is set up, travel the primary route again and look for trouble spots. Tent stakes, chair legs, cooler handles, and cords are easy to overlook during daylight and considerably less entertaining after dark.
The rule is simple: Build the campsite around the camper. Don’t make the camper work around the campsite.
Check the Restroom Before Dark
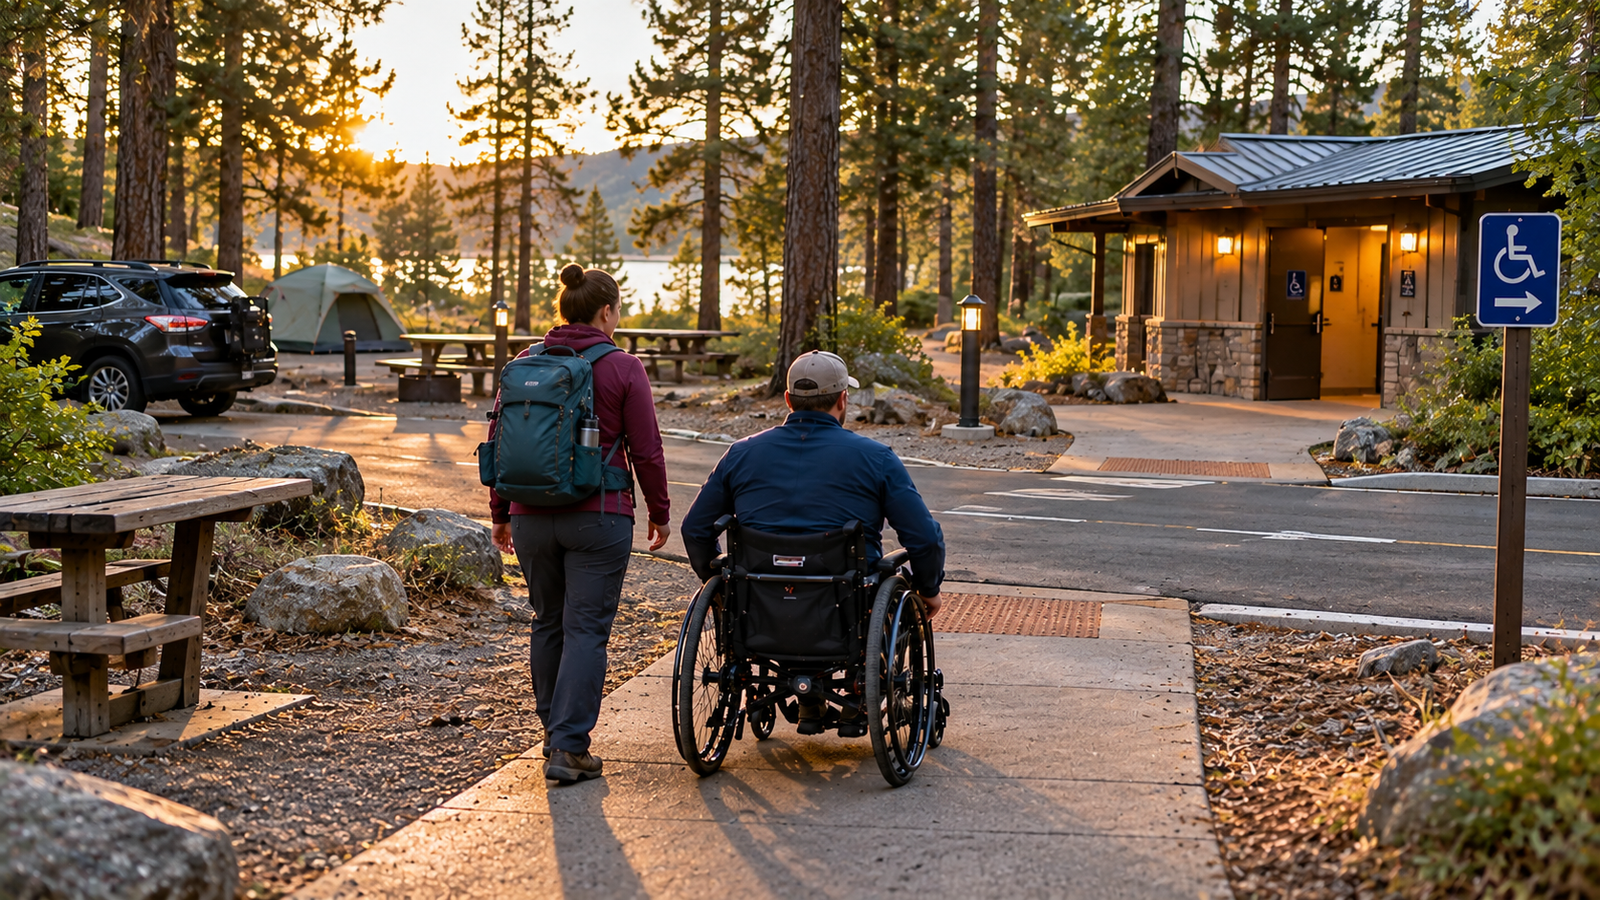
Once camp is set up, make the trip to the restroom while there’s still plenty of daylight. A restroom described as “nearby” may still involve a route that becomes considerably harder once you actually travel it.
Check the distance, surface, and slope between your campsite and the building. Watch for road crossings, curbs, loose gravel, roots, drainage problems, or other obstacles. Pay attention to lighting along the route as well. A manageable path in the afternoon can be a different proposition after sunset.
Inside, confirm the features that matter to you. Check the entrance and door clearance, maneuvering space, accessible stall, and sink access rather than assuming the building works simply because it’s designated accessible.
This quick check also gives you time to identify a better route or make other arrangements before you need the facility.
It’s a simple habit, but an important one: don’t wait until 11 p.m. to discover that the “nearby accessible restroom” is farther away—or harder to reach—than you expected.
Weather Can Change Accessibility
A campsite that works well when you arrive can become considerably harder to use after the weather changes. When checking the forecast, think beyond whether you’ll need a rain jacket. Consider what those conditions will do to the campsite itself.
Rain can soften dirt, create mud, deepen ruts, and leave standing water across an otherwise usable route. Loose or natural surfaces deserve particular attention when wet conditions are expected.
Heat can increase fatigue, making longer trips between the campsite and facilities more demanding. Cold can reduce dexterity, which may make tent zippers, buckles, stove controls, and other small tasks harder to manage. Strong wind can turn a manageable tent setup into a job that requires additional assistance.
Darkness creates its own problems. Tent stakes, roots, uneven surfaces, cords, and other small obstacles become harder to identify once daylight disappears.
Weather doesn’t automatically make a campsite unusable, but it can change which parts of the site remain practical.
Instead of asking only, “Is it going to rain?”, ask the more useful question: “What will this weather do to the routes, surfaces, equipment, and assistance I depend on?”
Test Everything at Home First
Your first accessible camping trip shouldn’t also be the first time you discover whether your equipment works together. Give the entire setup a trial run at home while adjustments are still easy to make.
Pitch the shelter and actually use the entrance. Set up the sleeping system and practice getting into and out of it. If transfers are part of your routine, check whether the height, stability, and surrounding space work as expected.
Set up the camping table and chair too. Operate the stove safely, test your lighting, and run any essential electrical equipment from the power source you plan to use. Check battery runtime and make sure backup power is charged and ready.
Finally, pack everything into the vehicle you’ll actually take camping. Make sure mobility equipment fits without being blocked by coolers, storage totes, or other gear, and keep essential items where you can reach them without unloading half the vehicle.
A home test may reveal that something needs to be repositioned, simplified, replaced, or simply left behind. That’s useful information.
The campground is a bad place to discover that your carefully planned setup doesn’t actually work.
Accessible Camping Basics Checklist
Use this checklist as a final run-through rather than assuming an “accessible” campsite has everything covered. Add anything specific to your own mobility, equipment, or assistance needs.
Before Booking
☐ Confirm the campsite surface and whether it works for your mobility needs.
☐ Check the site’s slope and overall maneuvering space.
☐ Verify parking width and wheelchair ramp or lift clearance if needed.
☐ Confirm that the nearest restroom has the accessible features you require.
☐ Check both the distance and route from the campsite to the restroom.
☐ Verify electrical service if charging or essential equipment depends on it.
☐ Review individual campsite photos when available.
☐ Contact the campground about anything important that isn’t clearly documented.
Before Leaving
☐ Check the latest weather forecast.
☐ Test your shelter, sleeping system, seating, and other major equipment.
☐ Fully charge batteries and essential devices.
☐ Pack tested backup power if required.
☐ Keep medications and essential supplies readily accessible.
☐ Download campground maps and important information in case cell service is poor.
☐ Keep emergency contact information available offline.
At Camp
☐ Inspect the site before unloading.
☐ Establish your main accessible routes first.
☐ Keep cords, guylines, stakes, and loose gear away from those routes.
☐ Position frequently used equipment within comfortable reach.
☐ Check the restroom route before dark.
☐ Keep essential equipment accessible throughout the stay.
Where to Go After You’ve Learned the Basics
Once you’ve got the accessible camping basics down, start solving the specific parts of your trip. Accessible Camping covers the bigger planning picture, while Accessible Camping Gear can help you choose equipment around individual mobility and accessibility needs.
When you’re ready to choose where to stay, Accessible Campsites and Campgrounds can help narrow the search. If restroom access is a deciding factor, Accessible Campground Bathrooms & Facilities deserves a closer look. For equipment that isn’t accessibility-specific, head to Camping Gear instead.
You don’t need to solve every possible camping challenge at once. Identify what you need, verify what the campground actually provides, and build the trip around those requirements. That’s a much stronger plan than trusting an accessibility symbol and hoping everything works when you arrive.