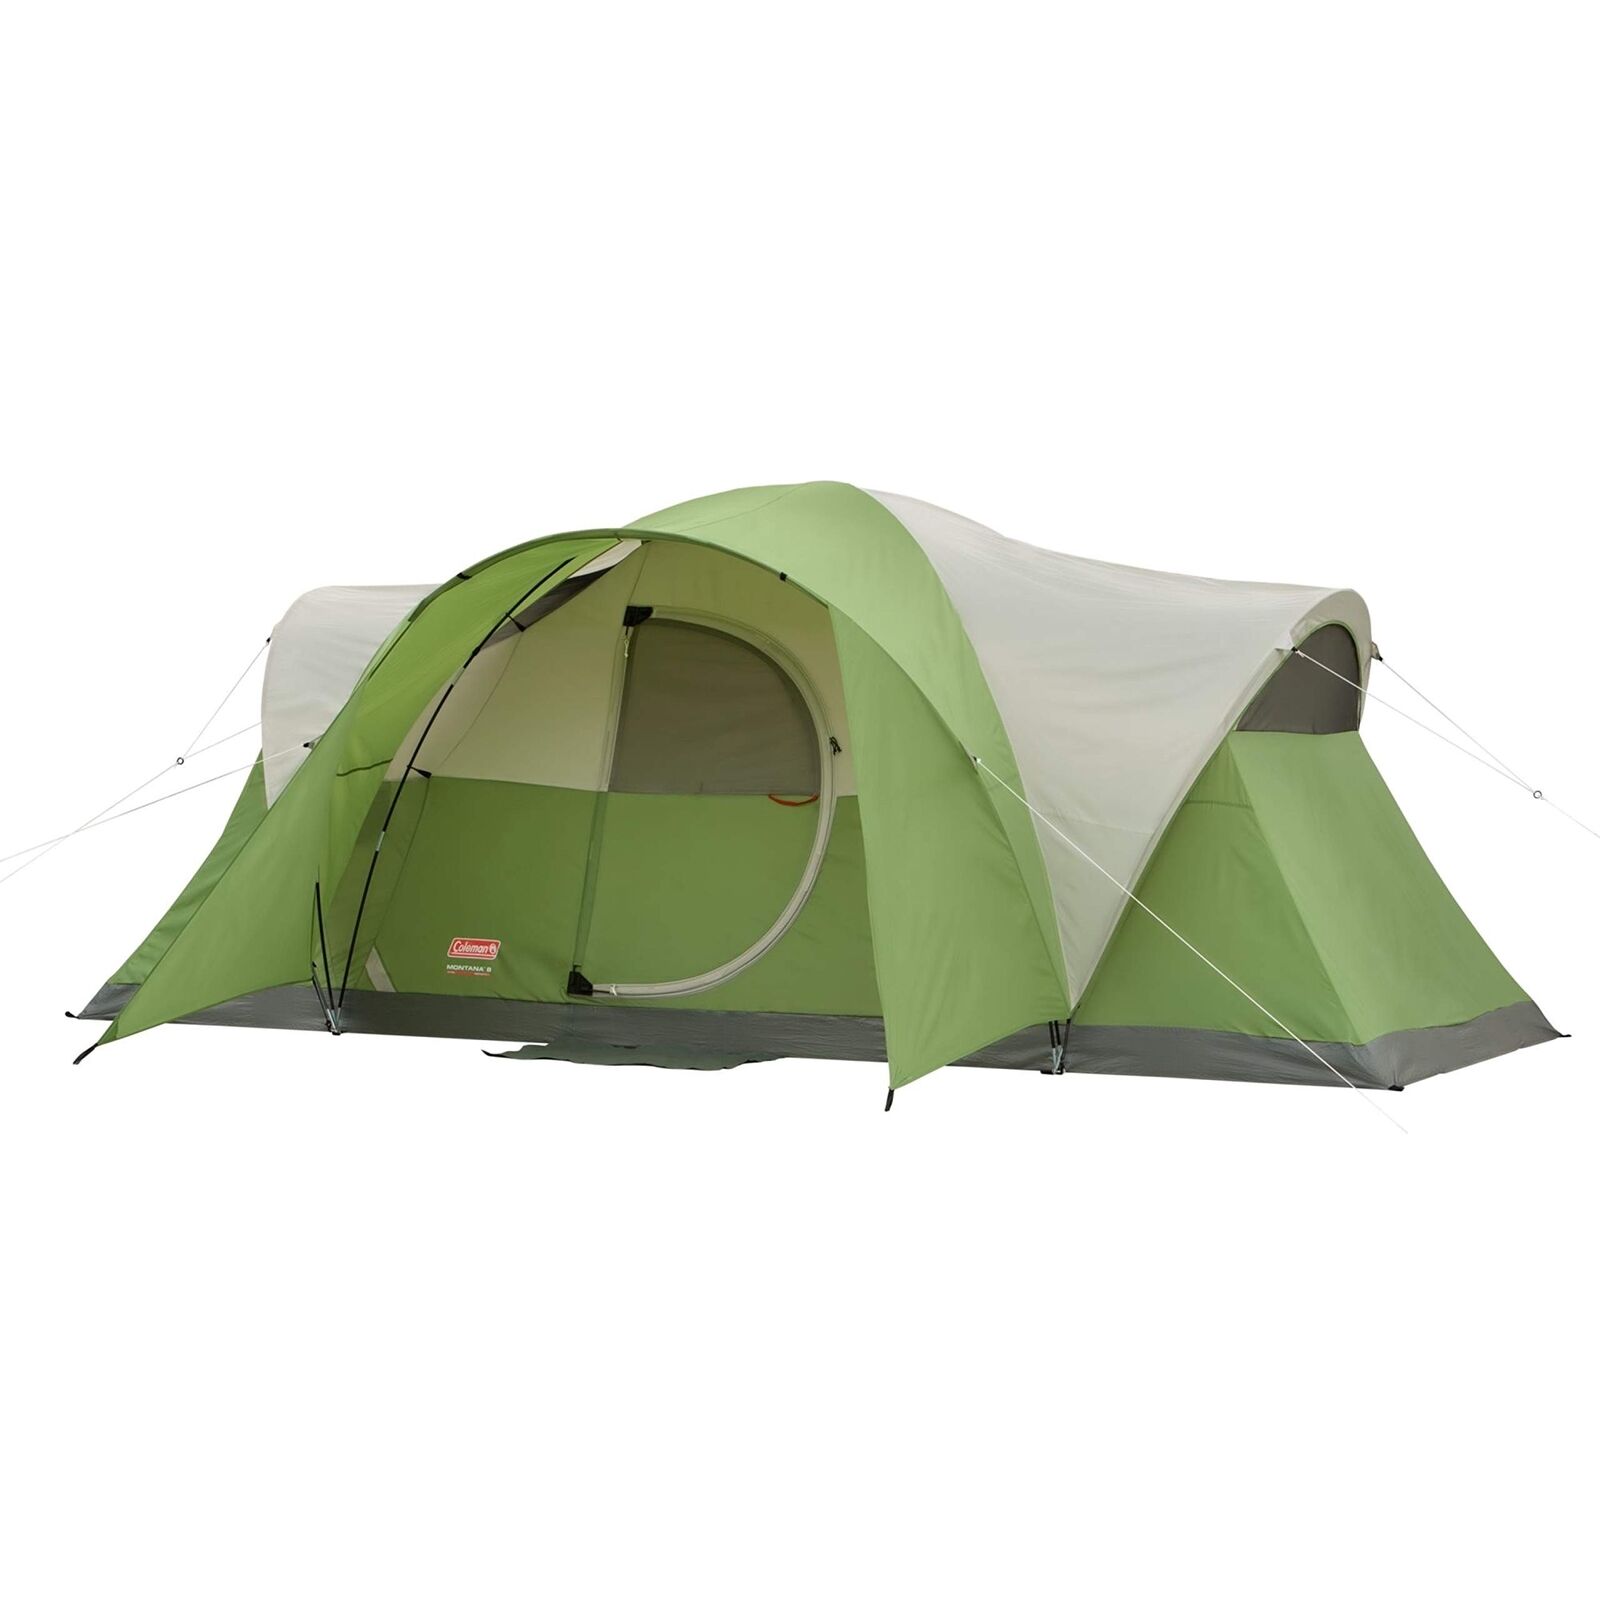
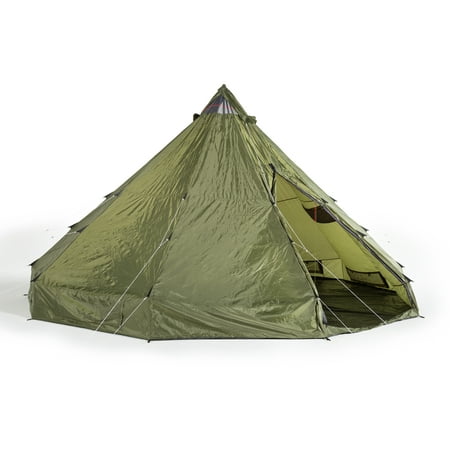
Hello, fellow family adventurers! Mike Thompson here, your go-to guy for all things family camping. Today, I’m excited to share some essential tips on a crucial aspect of camping preparation: how to check a tent. I remember a camping trip where we discovered a tiny rip in our tent too late, and let’s just say, it was an unforgettable night. That experience taught me the value of a thorough tent inspection before hitting the road.

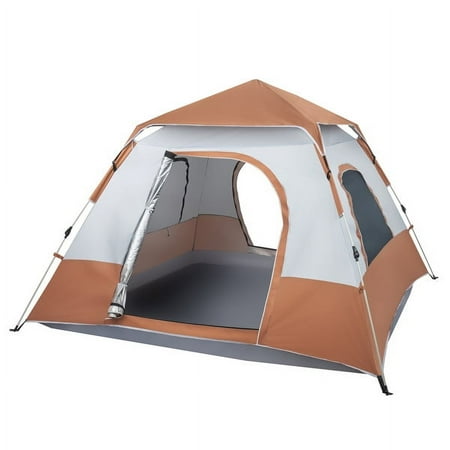
How To Check A Tent Unpacking and Initial Inspection
First things first, let’s unpack that tent. Do it gently to avoid any unintended damage. Once it’s out, give it a good once-over for any visible signs of wear or damage. Here’s a fun idea: turn it into a game of “tent detective” with the kids. They’ll love the responsibility, and it’s a great way to get them involved.
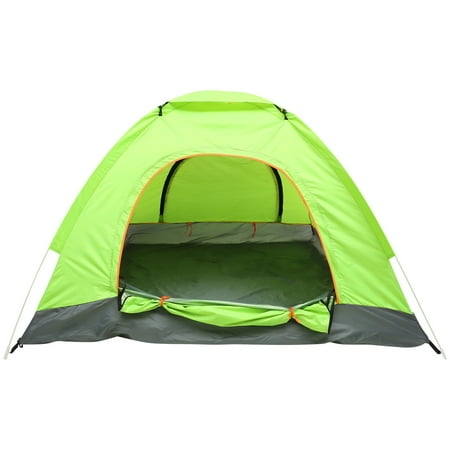
Assessing Tent Fabric and Seams
Next up, let’s talk fabric and seams. These are your tent’s first line of defense against the elements, so you’ll want to check carefully for any rips, holes, or thinning areas. Seams are particularly crucial; make sure the stitching is intact and there are no gaps. A handy trick I’ve learned is to use a flashlight inside the tent in a dark room; even the tiniest holes will light up like tiny stars.
Visual Inspection
Start with a broad visual inspection of the entire fabric. Unfold your tent in a well-lit area and spread it out flat, ensuring you have access to all parts of the tent fabric. Look for any obvious signs of wear and tear, such as thinning material, discoloration that might indicate weakening fabric, or any rips and tears.
Feel the Fabric
After your visual inspection, run your hands over the fabric, feeling for any thin spots or irregularities. Sometimes, what isn’t visible to the eye can be felt. This is particularly important for areas that are subjected to high stress or frequent contact with the ground, poles, or tent stakes.
Check the Seams
The seams of your tent are critical, as they are where different pieces of fabric come together, making them potential weak points for water entry. Check each seam to ensure the stitching is intact and there are no gaps. Pay special attention to the seams at the tent floor and the lower sections of the walls, as these areas are more prone to water exposure.
Light Test for Micro Holes
For a more detailed inspection, perform a light test. Take your tent into a dark room or wait until dusk and place a bright light inside your tent. Tiny holes or thinning areas in the fabric will become visible as pinpoints of light shining through. This method is especially effective for identifying hard-to-see issues.
Waterproofing Check
Even if your tent fabric and seams appear intact, it’s important to check the waterproofing. Many tents come with a waterproof coating that can wear off over time. If you notice areas where the waterproofing seems compromised, it may be time to apply a waterproofing spray or seam sealer.
Involve the Family
Make this a family activity! Have one person inside the tent with the light while others inspect from the outside. It’s a great way to involve kids in the camping preparation process and teach them about maintaining gear.
Regular Maintenance
Remember, regular checks and maintenance can significantly extend the life of your tent. After each trip, inspect your tent as you clean and dry it before storage. This proactive approach can save you from unexpected surprises on your next adventure.
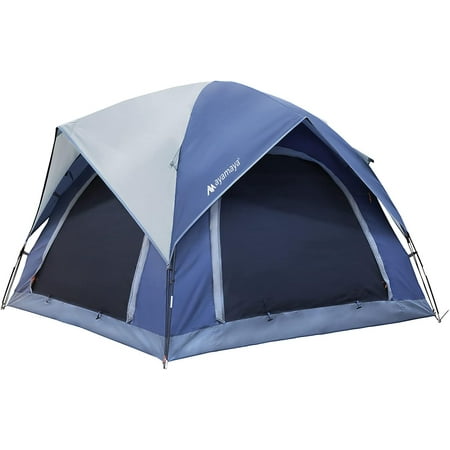
Pole and Stake Inspection
Now, onto the bones of your tent: the poles and stakes. Ensure each pole is free from bends or cracks, and that all stakes are accounted for and straight. A little tip from the Thompson family playbook: color-code your stakes and poles. It makes setup a breeze and is a fantastic learning tool for the kids.
Expanding on the pole and stake inspection is crucial for ensuring your tent’s structural integrity and stability during your camping trips. Let’s delve deeper into how to conduct a thorough check of these essential components:
Pole Inspection
- Assembly Check: Start by assembling your tent poles. This not only ensures that all pieces are present but also helps identify any issues with the elastic cord inside, which can stretch or break over time.
- Look for Damage: Examine each pole segment for cracks, bends, or splinters, especially at the ends where they connect. Aluminum poles might have dents, while fiberglass poles can crack or splinter under stress.
- Flexibility Test: Gently flex the poles to ensure they still have the proper elasticity and strength. Be careful not to over-flex, as this could cause damage, especially in colder temperatures where materials are more brittle.
- Connection Points: Pay close attention to the ferrules (the connectors between pole sections) and any locking mechanisms. These should fit snugly and lock securely without excessive force.
Stake Inspection
- Inventory Count: First, make sure you have all the stakes that came with your tent. It’s easy to lose stakes, so counting them after each trip ensures you’re not caught short on your next outing.
- Physical Condition: Check each stake for bends, rust, or damage. Bent stakes can be difficult to drive into the ground and may not anchor your tent securely. While some minor bends can be hammered out, severely damaged stakes should be replaced.
- Material Check: Stakes come in various materials, including plastic, aluminum, and steel. Each has its pros and cons, so consider your camping environment when assessing their condition. For example, lightweight aluminum stakes are great for soft soil but might not hold up well in rocky terrain.
- Upgrades and Alternatives: If you frequently camp in specific conditions, such as sandy beaches or heavy winds, consider upgrading to specialized stakes designed for those environments. This can greatly enhance your tent’s stability and your overall camping experience.
Engaging the Family
Involving your family in the pole and stake inspection process can turn a routine check into a fun and educational activity. Assign tasks to each family member, such as counting stakes, checking pole segments, or even attempting to straighten slightly bent stakes. This not only makes the preparation process more enjoyable but also teaches valuable skills and responsibility.
Pro Tips
- Spare Parts: Always carry a few spare stakes and at least one spare pole segment (or a repair sleeve) when camping. This ensures you’re prepared for any unexpected issues.
- Storage and Care: After each trip, clean your poles and stakes to remove dirt and debris, which can cause wear over time. Store them in a dry place to prevent rust and corrosion.
By meticulously inspecting your tent poles and stakes, you not only ensure a stable and secure setup but also instill confidence and peace of mind, allowing your family to fully enjoy the camping experience. Remember, a little preparation goes a long way in the great outdoors!


Waterproofing and Weather Resistance
One of the key functions of your tent is to keep you dry, so checking the waterproofing is critical. Expanding on the waterproofing aspect of tent care is essential for ensuring your tent remains a reliable shelter against the elements. Here’s a more in-depth look at how the Thompson family approaches this critical task, along with some of our personal tips and tricks:
Understanding Tent Waterproofing
Waterproofing in tents is typically achieved through a combination of waterproof fabrics and sealed seams. Over time, exposure to the sun, rain, and general wear and tear can degrade these protective barriers. That’s why regular checks and maintenance are crucial, especially before a big family camping trip.
Visual Inspection for Waterproofing
Start with a visual inspection of the tent fabric, focusing on the rainfly and the tent floor, as these areas bear the brunt of rain and ground moisture. Look for any signs of peeling or flaking coatings, which indicate that the waterproof layer is deteriorating.
The Thompson Family Hose Test
One of our favorite family activities before a camping trip is what we call the “Hose Test.” We set up the tent in our backyard and gently spray it down with a garden hose. This not only checks the waterproofing but also turns into a fun water play activity for the kids. Any leaks become immediately apparent, and we mark these spots for repair.
Sealing the Seams
Seams are common leak points in tents. Even if your tent was factory seam-sealed, the sealant can wear out over time. We regularly apply seam sealer to all the tent seams, turning it into a fun and educational activity for the kids. We explain how each seam is like a tiny river that needs a dam, and they get to help “build” those dams with the seam sealer.
Reapplying Waterproof Coating
When we notice the waterproof coating on the tent fabric starting to wear off, it’s time for a reapplication. We use a waterproofing spray designed for tent fabrics, applying it in a well-ventilated area (preferably outdoors). The kids get a kick out of watching the tent go from wet to water-resistant again, and we use this as a learning opportunity to talk about the science of waterproofing.
Thompson Family Waterproofing Tips
- Patch It Up: Small rips or tears can compromise your tent’s waterproofing. We always patch these up first before applying any waterproof treatments.
- Ventilation Is Key: Even the best waterproofing can’t prevent condensation if there’s no airflow. We make sure our tent has good ventilation to keep the interior dry.
- Test Before You Camp: Besides the Hose Test, we sometimes do a “Dry Run” camping night in the backyard after waterproofing, just to be sure everything holds up.
Regular Maintenance
After each trip, we clean and dry the tent thoroughly before storing it. This prevents mold and mildew, which can also degrade waterproof coatings. Plus, it ensures the tent is ready to go for our next adventure.
By incorporating these waterproofing checks and maintenance routines into your pre-camping preparations, you ensure your family stays dry and comfortable, no matter what the weather brings. And by involving the whole family, you turn necessary upkeep into fun, teachable moments that everyone looks forward to.
Zippers and Ventilation Checks
Zippers are the unsung heroes of your tent’s integrity and comfort. Test each zipper to ensure they run smoothly and seal correctly. A stuck zipper is a minor inconvenience that can become a major hassle, so I always pack a small zipper repair kit—just in case.
When it comes to ensuring a comfortable and functional camping experience, paying close attention to your tent’s zippers and ventilation systems is key. These elements are crucial for easy access, security, and maintaining a comfortable climate inside the tent. Here’s a detailed look at how to care for these features, with some Thompson family insights:
Zippers: The Gatekeepers of Your Tent
Zippers are one of the most used and, consequently, most vulnerable parts of a tent. A stuck or broken zipper can turn a cozy shelter into a frustrating challenge, especially with eager kids ready to dive into the great outdoors.
Inspection and Maintenance
- Regular Checks: Before and after each camping trip, we make it a point to check every zipper. We look for any signs of wear, such as teeth missing or fabric starting to fray at the seams.
- Clean and Lubricate: Dirt and grit can cause zippers to stick or jam, so we clean them gently with water and a soft brush. For lubrication, a silicone-based product or even a candle wax rubbed along the teeth can work wonders in keeping them sliding smoothly.
- Practice Gentle Use: We teach the kids the importance of using zippers gently. Yanking or pulling hard can cause them to separate or break, so we emphasize the use of steady, gentle pulls.
Teaching Moments
Incorporating zipper care into our camping routines has been a great way to teach the kids about looking after their gear. We turn zipper checks into a little game, seeing who can spot any issues first, and awarding ‘points’ for gentle handling.
Ventilation: Keeping the Air Flowing
Proper ventilation in a tent is essential for comfort and preventing condensation, which can make everything damp and clammy by morning.
Mesh Panels and Windows
- Mesh Care: Our tent has several mesh panels and windows, which we inspect for tears or holes. Even small damage can let in bugs, so we patch these up as part of our prep.
- Ventilation Strategy: We always set up our tent to maximize airflow, ensuring that the vents are not blocked by gear and that the rainfly is positioned to allow air to circulate. This helps keep the interior fresh and reduces condensation.
Using Ventilation Features
- Door and Window Management: We often leave the tent doors or windows partially unzipped (mesh closed, of course) during the night to boost air circulation. This is especially helpful in warmer weather to keep the tent comfortable.
- Rainfly Adjustment: Adjusting the rainfly to allow more or less airflow can make a big difference in ventilation. We show the kids how to do this, turning it into a lesson on weather adaptation.
Family Involvement
Involving the whole family in the care and maintenance of the tent’s zippers and ventilation not only helps keep the tent in top condition but also instills a sense of responsibility and teamwork in the kids. They learn the value of taking care of their belongings and the importance of comfort and safety in the great outdoors.
By taking the time to maintain zippers and optimize ventilation, you can significantly enhance the functionality and longevity of your tent, ensuring many more enjoyable family camping trips. The Thompson family motto when it comes to tent care? “A little effort at home means a lot more comfort in the woods!”
Final Assembly and Safety Check
The final assembly and safety check of your tent is the last step before embarking on your family camping adventure. It’s a crucial process that ensures your tent is set up correctly, securely, and safely, providing a comfortable and safe environment for your family. Here’s an in-depth look at how the Thompson family approaches this important task:
Final Assembly
- Dry Run: Before any trip, we do a complete setup of the tent in our backyard. This “dry run” serves as a practice session, especially beneficial if we’re using a new tent or if it’s been a while since our last outing.
- Follow the Instructions: We always start by reviewing the tent setup instructions, even if we think we remember the process. It’s a good habit that helps avoid mistakes and is a great learning opportunity for the kids.
- Assign Roles: Each family member gets a specific role during the tent setup, from spreading out the groundsheet to assembling the poles and securing the tent. It teaches responsibility and teamwork.
Safety Check
- Stability: Once the tent is up, we check its stability by gently pushing against the sides and corners to ensure it can withstand wind and movement without collapsing.
- Anchor Points: We meticulously check all the anchor points, making sure the tent is securely staked down. In windy conditions, we use additional guy lines for extra stability.
- Emergency Exits: We make sure everyone knows how to open the tent exits, emphasizing the importance of keeping the paths to these exits clear for safety.
- Weather Preparedness: Depending on the weather forecast, we adjust our setup. For example, in rainy conditions, we make sure the rainfly is properly secured and that there’s adequate distance between the rainfly and the inner tent to prevent moisture transfer.
Thompson Family Tips
- Checklist: We maintain a tent setup checklist to ensure we don’t miss any steps. This checklist includes everything from unpacking the tent to the final safety walkthrough.
- Practice Makes Perfect: We involve the kids in the setup and takedown process during our dry runs, so they become familiar with the tent. It’s a fun way to teach them about camping while ensuring they know how to set up and maintain their shelter.
- Safety First: We always choose a campsite that’s on level ground, away from lone trees (lightning risk), and at a safe distance from water bodies. We also keep a small hammer or mallet handy for securely driving in tent stakes.
Wrap-Up
The final assembly and safety check is not just about making sure the tent is set up correctly; it’s about ensuring the safety and well-being of your family while enjoying the great outdoors. By making this process a family activity, not only do you ensure that the tent is secure, but you also instill valuable skills and a sense of responsibility in your children. For the Thompson family, this final step is as much a part of our camping tradition as the campfire stories and marshmallow roasting that follow.
Wrapping Up
Checking your tent before a camping trip might seem like a small task, but it’s these little preparations that pave the way for unforgettable family adventures. So, gather the family, get your tent out, and make sure it’s in tip-top shape for your next outdoor excursion. Remember, well-maintained gear not only ensures safety and comfort but also turns good camping trips into great ones. Happy camping, and I’ll see you out there under the stars!
Mike’s Family Camper’s Tip Box:
- Quick Tent Maintenance Tips: Regularly clean your tent and store it dry to prevent mold and mildew.
- Essential Tent Repair Kit Items: Duct tape, seam sealer, spare fabric patches, and extra stakes and poles.
- Family Fun Prep: Make each camping preparation activity a game or challenge to engage the whole family.
))/3689120.json)
This post may contain affiliate links, meaning we get a commission if you decide to make a purchase through our links, at no cost to you.
Leave a Reply